A stardew barn is one of the first serious farm investments in Stardew Valley. It turns spare grass, hay, and daily attention into milk, cheese, wool, and truffles. The mistake is building one because the building exists, then discovering you cannot afford animals, feed, or processing equipment. Skip the nonsense — here is the route that keeps your gold and farm space working.
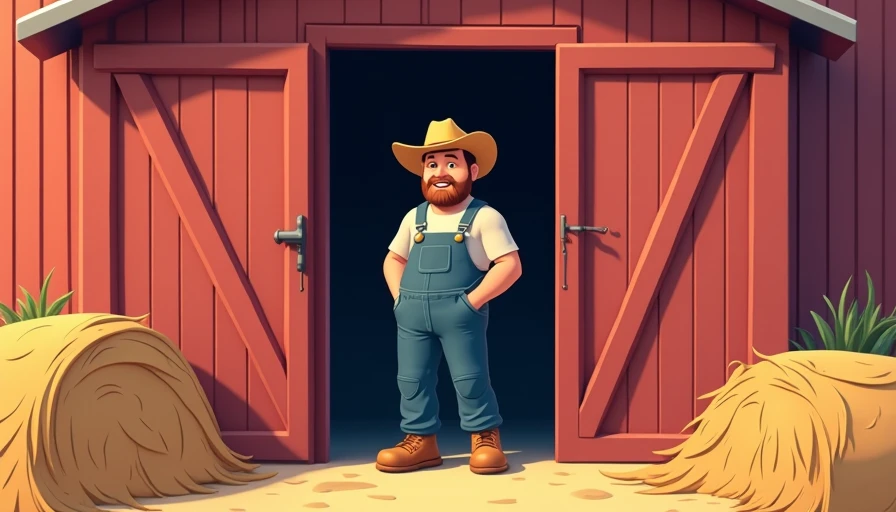
Robin builds the basic barn at the Carpenter’s Shop for 6,000g, 350 wood, and 150 stone. It holds four animals and is enough to start a reliable livestock setup. Do not rush it during the first few spring days unless you already have crops, tools, and a silo planned. A barn without feed is just an expensive wooden box with excellent ventilation.
What Each Barn Upgrade Unlocks
The basic stardew barn supports cows, which are usually the best first animal. A cow costs 1,500g from Marnie and produces milk once it has enough friendship. Processing that milk in a Cheese Press creates cheese, a much better use of your daily product than selling plain milk. Cheese also provides useful energy and health for mining trips, so this is not only a profit decision.
The Big Barn costs 12,000g, 450 wood, and 200 stone. It holds eight animals and unlocks goats. Goat milk arrives less often than cow milk, but large goat milk and goat cheese can become valuable once friendship improves. The Deluxe Barn costs 25,000g, 550 wood, and 300 stone. It holds twelve animals, unlocks sheep and pigs, and includes an automatic feeding system. That last feature is the real upgrade; spending less time placing hay matters when your farm has multiple buildings.
Upgrade in stages rather than saving for the Deluxe Barn immediately. The Big Barn gives you room and goats at a manageable cost, while the Deluxe Barn is strongest after you already have enough income to fill it. Buying a top-tier building before buying animals is how players end up staring at an empty barn and calling it progression.
The Best Early Build Order
For most farms, the clean route is silo, basic barn, two cows, Cheese Press, then Big Barn. A silo costs 100g, five copper bars, 100 stone, and ten clay. Build it before cutting large amounts of grass, because uncollected grass disappears instead of becoming hay. One silo stores up to 240 pieces of hay, which is enough for a small herd but not a full Deluxe Barn through a long winter.
Buy two cows before four. Two animals produce enough milk to justify processing while leaving gold for seeds, tool upgrades, and mine runs. Pet them daily, let them eat outside when grass is available, and keep them indoors during rain and winter. Their friendship improves through feeding, petting, and regular care. Happy animals produce better-quality goods, and large products are exactly what your processing equipment wants.
Place the Cheese Press near the barn or in a nearby processing shed. Its recipe unlocks at Farming Level 6 and requires 45 wood, 45 stone, ten hardwood, and one copper bar. Make at least two presses when milk production becomes steady. One press creates a bottleneck quickly, and watching raw milk sit in a chest is not a business plan.
Animal Choices and Profit Timing
Cows are the safest first purchase because they produce daily and integrate cleanly with cheese production. Goats are a useful second step when you want higher-value products without changing the daily routine much. Sheep are less urgent. Their wool is useful, but the shearing cycle and cloth production require more setup than a beginner usually needs.
Pigs are the major late-game money option. A mature pig can find truffles while outside, and truffle oil turns those finds into a strong artisan product. However, pigs do not find truffles during winter, rain, or when they cannot leave the barn. They also need a large clear outdoor area. A pig barn squeezed between fences and machines is an expensive way to underperform.
A practical stardew barn plan usually starts with cows, adds goats after the Big Barn upgrade, and waits on pigs until the farm has open grassland and enough daily time. Do not buy every animal type simply because the shop offers it. Each animal adds chores, and chores have an opportunity cost.
Layout, Grass, and Daily Chores
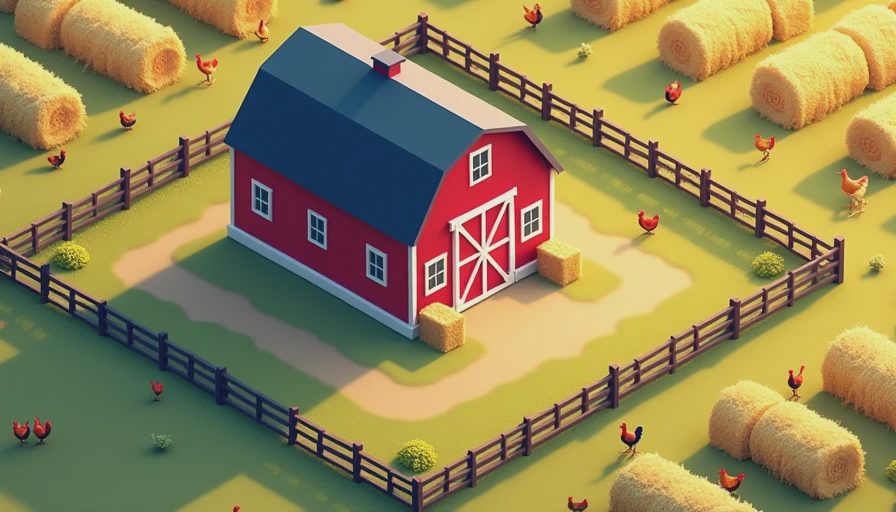
Leave a clear patch outside the barn with grass starters nearby. Use fences or gates to keep animals from wandering across crop fields and machine areas. Do not seal the entire grazing zone with a tiny opening; animals can crowd around the entrance and fail to reach grass efficiently. A wide gate and a simple rectangular pasture work better than a decorative maze.
Keep a chest near the door for milk buckets, shears, spare hay, and animal products. On a normal day, open the door in the morning, check the hay bench, pet each animal, and collect products. If animals ate outside, the hay count will remain untouched. Close the door at night if you want predictable movement and fewer animals wandering around the farm.
During winter, assume every animal needs indoor feed. A full Deluxe Barn with twelve animals consumes twelve hay per day, or roughly 360 pieces over a 30-day winter. That is more than one full silo. Stock extra hay before winter instead of discovering the shortage on the twentieth day while Marnie is closed. The stardew barn rewards preparation more than frantic shopping.
Common Barn Mistakes That Waste Gold
The first mistake is upgrading before building a silo. Grass is not a permanent food supply, and winter removes that plan completely. The second is filling the barn before buying processing machines. Selling raw milk is fine for emergency cash, but cheese usually gives the building a much better return over time.
Another mistake is placing the barn far from grass, storage, or the farmhouse. Every extra run takes seconds, and those seconds accumulate across hundreds of farm days. Keep livestock buildings close enough that a short morning loop handles feeding, harvesting, and collection without crossing the entire map.
Players also underestimate hay. Buying hay from Marnie costs 50g per piece, which is painful when multiplied across a large herd. A silo and a scythe are cheaper long-term, but only if you cut grass during the growing seasons. Leave some grass standing so animals can continue grazing instead of clearing every tile in one afternoon.
A Simple Upgrade Checklist
Follow this order if you want a dependable setup without wasting resources:
- Build a silo before cutting farm grass.
- Gather wood, stone, and gold for the basic barn.
- Buy two cows rather than immediately filling all four spaces.
- Make one or two Cheese Press machines as soon as Farming Level 6 allows it.
- Upgrade to the Big Barn when milk processing and crop income are stable.
- Add goats only after you can handle the extra daily products.
- Save the Deluxe Barn for a farm that has reliable hay storage and open pasture.
- Buy pigs when truffle oil, space, and daily collection fit your routine.
This route keeps the stardew barn useful at every stage. You get early food and income from cows, more product variety from goats, and serious late-game returns from pigs without paying for capacity you cannot use.
The short version is simple: build the silo first, start with cows, process milk, and upgrade when your current barn is actually full. A stardew barn is not valuable because it looks complete. It is valuable because the animals inside it are fed, producing, and connected to a processing chain. Plan that chain before spending the gold, and your livestock setup will pay for itself instead of becoming another chore pile.