
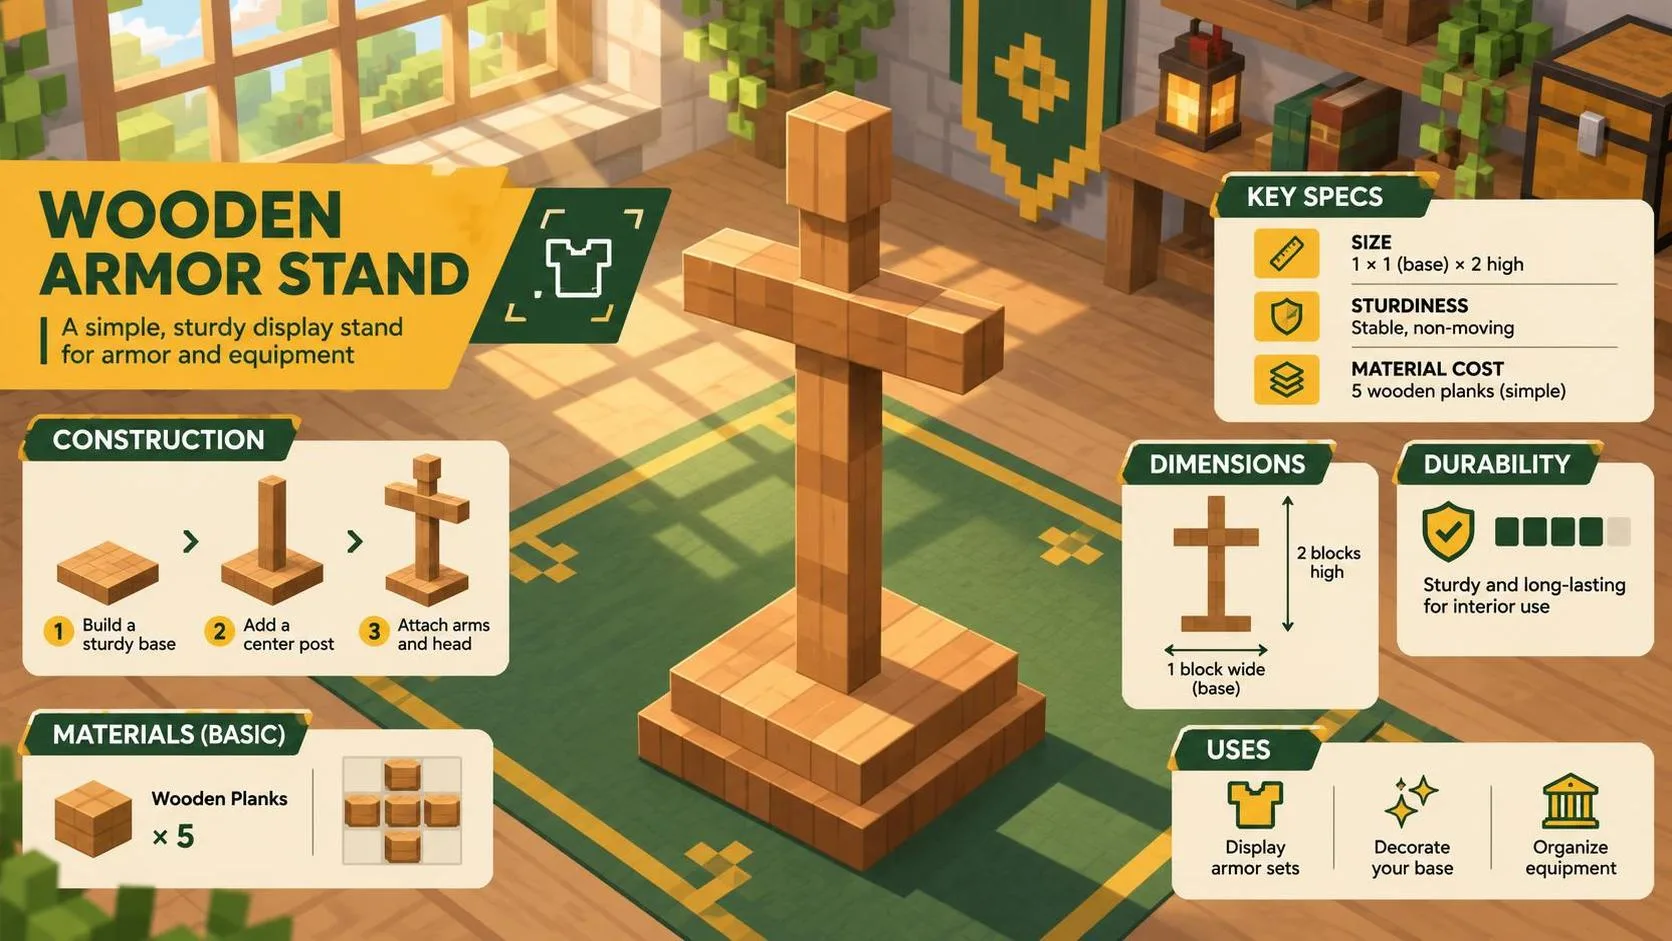
If you need to know how to make a armor stand in minecraft, skip the nonsense — here’s the route. You need six sticks, one smooth stone slab, and a crafting table. The recipe is cheap enough for early survival, but the smooth stone slab is where beginners usually lose time. Gather the materials in the right order and you can have a working display stand before your first serious mining trip.
Materials You Need
The recipe uses six sticks and one smooth stone slab. Sticks are simple: place wooden planks in a vertical pair in your crafting grid, then collect the four sticks produced. Any overworld wood works, including oak, spruce, birch, jungle, acacia, dark oak, and mangrove. The wood type does not change the armor stand.
The smooth stone slab takes a little more work. First, mine stone with a pickaxe. If you mine ordinary stone, you will usually receive cobblestone, so place that cobblestone in a furnace and smelt it into stone. Smelt the stone again to create smooth stone. Finally, place three smooth stone blocks in a horizontal row in the crafting grid to produce six smooth stone slabs.
You only need one slab for the recipe. Do not accidentally use a regular stone slab, cobblestone slab, or polished variant. Minecraft recipes are fussy in exactly the places where you are trying to move quickly.
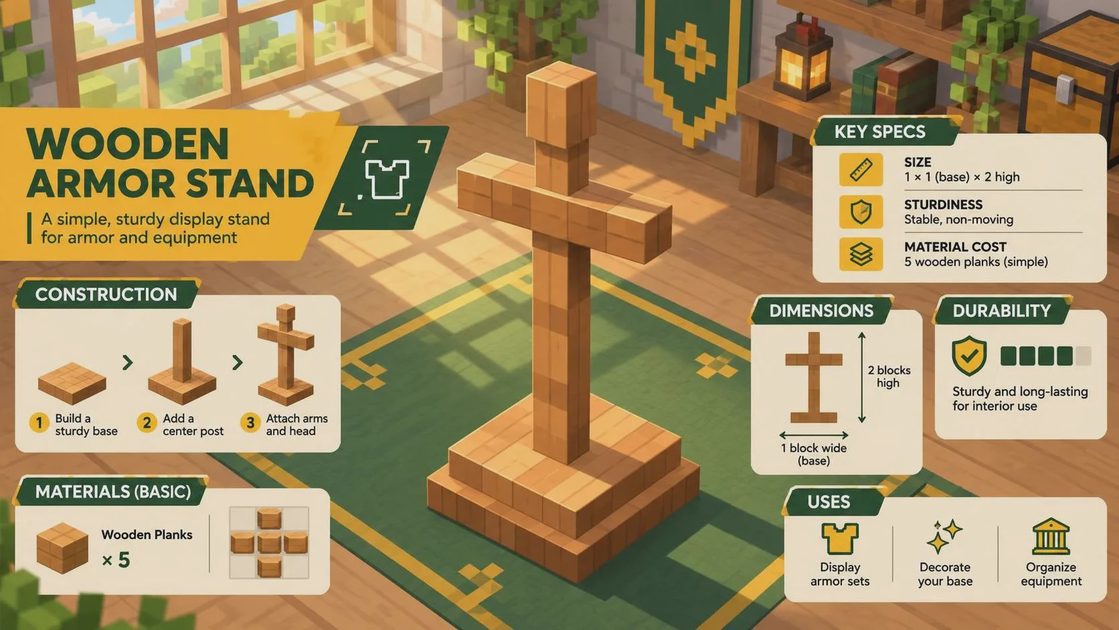
How to Make a Armor Stand in Minecraft
To craft the stand, open a crafting table and use the three-by-three grid. Put three sticks across the top row. Place one stick in the center slot of the middle row. On the bottom row, place one stick in the left slot, the smooth stone slab in the center slot, and one stick in the right slot.
The arrangement looks like this when read from top to bottom:
Stick, Stick, Stick
Empty, Stick, Empty
Stick, Smooth Stone Slab, Stick
Once all seven ingredients are in the correct positions, the armor stand appears in the result box. Move it into your inventory. That is the entire answer to how to make a armor stand in minecraft; there is no special workstation, villager trade, or Nether ingredient involved.
If the result does not appear, check the bottom center slot first. A normal stone slab will not substitute for a smooth stone slab. Also confirm that you are using six individual sticks rather than planks. The recipe needs sticks, not wood blocks.
Placing and Using the Stand
Select the armor stand on your hotbar and use it on a solid block. On PC, this usually means right-clicking. On consoles, use the normal interact button. The stand will appear in the direction you are facing, so aim at the floor rather than the wall behind it. You can break it later and recover the stand as an item.
To equip armor, hold a helmet, chestplate, leggings, or boots and interact with the stand. The item moves onto the matching slot. You can also remove the armor by interacting with the occupied slot while holding an empty hand. This makes the stand useful near a storage room, where it can show your spare diamond set instead of forcing you to open six chests and guess which one contains the boots.
Armor stands can display more than armor. In standard Java Edition use, they can hold certain compatible items through commands or specialized mechanics, while ordinary survival interaction is mainly designed for armor and selected equipment. If you want a reliable decorative setup without commands, use armor, carved pumpkins, mob heads, and a carefully built backdrop.
Java and Bedrock Differences
The basic recipe is the same in Java Edition and Bedrock Edition, so the crafting steps for how to make a armor stand in minecraft do not change between platforms. The differences show up after crafting, especially with movement, poses, arms, and interaction behavior.
Java Edition armor stands are generally more limited during normal survival interaction. Their default appearance does not include visible arms, and changing poses or adding arms commonly requires commands and NBT data. Bedrock Edition gives players more direct interaction options for posing armor stands, depending on the current version and platform controls. The exact button can differ between keyboard, controller, and touch input.
For a simple survival display, none of that matters. Place the stand, equip the armor, and build a small platform behind it. For a command-based museum or statue room, test the design in a copy of the world first. Armor stand commands are powerful, but one missing character can turn a clean display into an invisible entity that is annoying to repair.
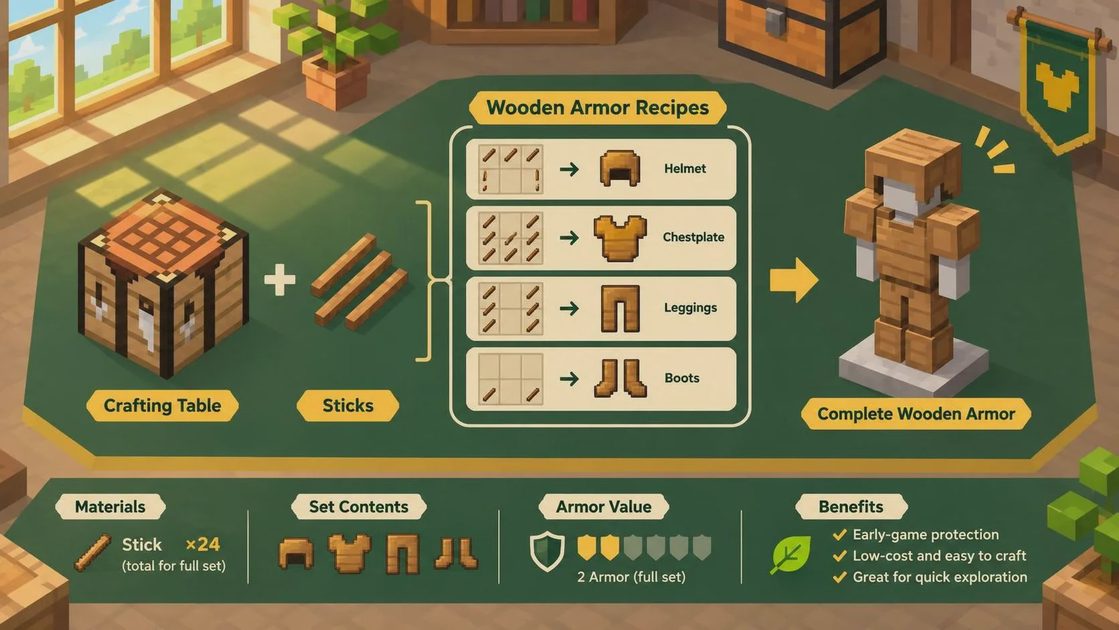
Best Early-Game Uses
The first useful placement is beside your entrance. Put your main armor set on the stand when you switch to mining clothes, enchanted gear, or a fire-resistant Nether kit. This creates a visual reminder of what is ready and keeps valuable equipment from being scattered across storage boxes.
A second stand works well beside an enchanting area. Display the armor you are preparing to enchant, or use it to mark the intended destination of a complete set. In a multiplayer base, this is clearer than a row of signs nobody reads after the first day.
Armor stands also solve a common decoration problem: empty hallways. Two stands with matching iron armor can frame a doorway, while a stand with dyed leather armor can fit a colored storage room. If you are building a castle, add stone brick walls and banners behind the display. If you are building a modern base, use a dark floor, lighting, and a glass enclosure instead of throwing the stand in the middle of the workshop.
Fast Troubleshooting Checklist
If you are stuck on how to make a armor stand in minecraft, work through the recipe rather than guessing. Confirm that the crafting table is open and that the grid has three sticks across the top. Check for one stick in the middle center, then two sticks on the bottom corners with a smooth stone slab between them.
If you have no smooth stone, smelt cobblestone into stone, then smelt that stone again. A furnace fueled with coal, charcoal, or another valid fuel handles both steps. If you have smooth stone blocks but no slab, craft three blocks in a row; that produces six slabs, leaving five for later builds.
If the stand will not equip an item, use the correct armor slot and make sure you are interacting rather than attacking. On a crowded base, shift the stand onto a flat block away from chests, doors, and villagers. That prevents accidental clicks and makes the display easier to manage.
Final Route
The shortest version of how to make a armor stand in minecraft is six sticks plus one smooth stone slab in the correct crafting-table pattern. Make sticks from planks, smelt stone twice for smooth stone, craft the slab, and place the stand near your gear storage. It is inexpensive, useful, and worth making as soon as you have a furnace and a reliable wood supply. Skip the decorative nonsense until your armor is organized, then use the stand to make the base look intentional instead of merely inhabited.