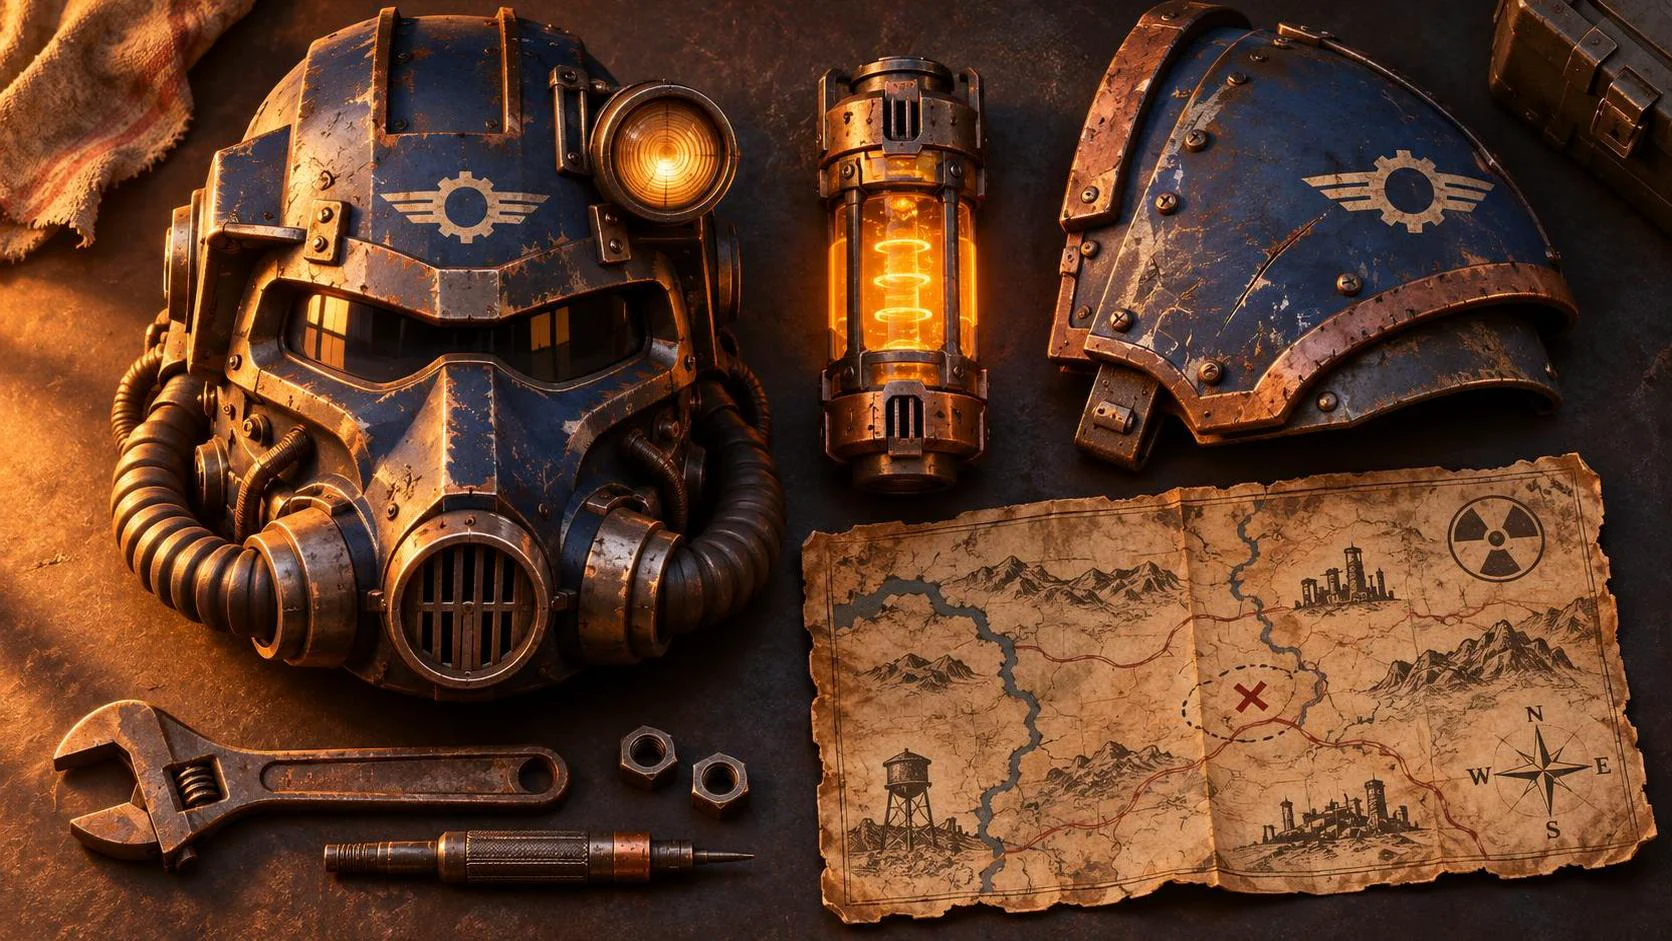
Fallout 4 power armor is not a magic suit you wear forever. It is a mobile weapons platform with a fuel bill, repair needs, and a habit of turning careless looting into a slow walk home. Use it correctly and you can bully raiders, survive glowing enemies, and carry heavy gear through the Commonwealth. Use it badly and you will burn fusion cores while standing in Sanctuary inventory menus.
Skip the nonsense — here’s the route. Get an early frame, collect spare fusion cores, repair only the pieces you actually use, and delay expensive upgrades until your character has the perks and materials to support them. The armor is strongest when treated as a specialist tool rather than your default outfit.
Get your first suit without wasting the advantage
The first dependable suit appears during When Freedom Calls in Concord. You find a frame on the roof of the Museum of Freedom, along with a minigun and a fusion core. This is an excellent early-game power spike, but it is also a tutorial disguised as a reward. The frame is easy to access, while the minigun is loud, heavy, and not worth feeding unlimited ammunition during ordinary exploration.
After clearing the immediate threat, move the suit to a settlement or another secure location. Sanctuary is convenient because the armor can stand on an armor station and be protected from casual enemy damage. Do not leave it parked in the middle of a road, and do not leave a fusion core installed if you expect settlers or companions to use the frame. NPCs can enter an unoccupied suit when a core is available, which is funny exactly once.
The early model is usually T-45, and it is good enough for the first major fights. You do not need to hunt legendary armor pieces before level 10. The frame, a functioning chest piece, working legs, and a helmet provide more practical value than a perfect collection of mismatched upgrades.
Fusion cores are the real equipment check
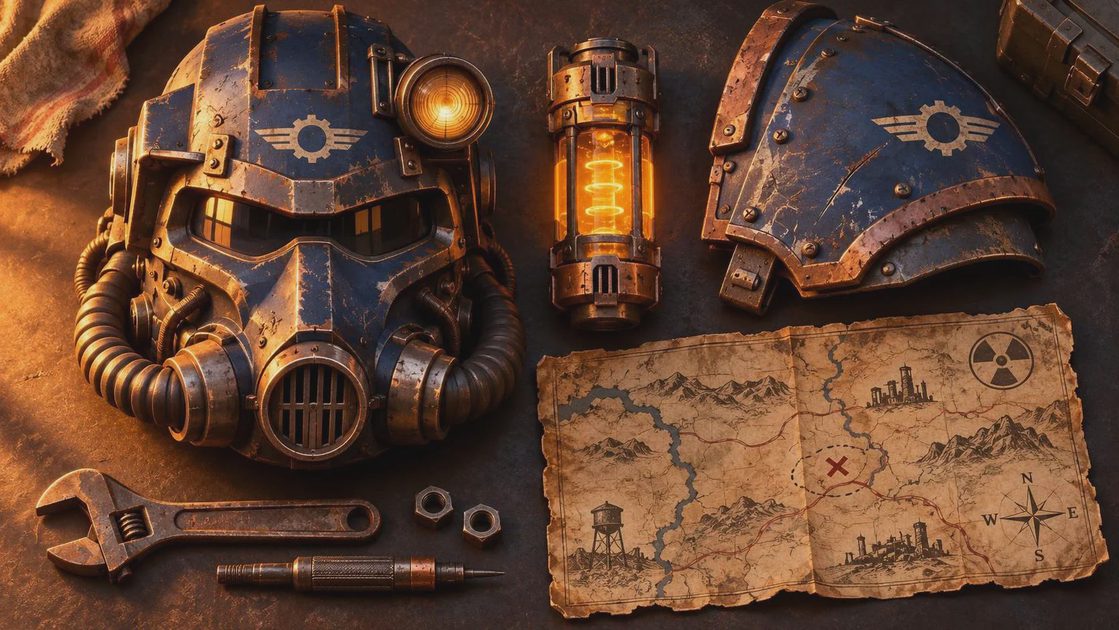
A fusion core powers the suit, but it is not simply a permanent key. Sprinting, using a jetpack, and certain movement habits can drain cores faster than walking and ordinary combat. Core duration also depends on the suit and relevant perks, so early players should avoid treating the meter as decoration.
Search generators, military locations, abandoned factories, and locked utility areas for cores. Traders sometimes sell them, but buying every core you see can consume caps needed for ammunition, adhesive, and settlement supplies. A practical early target is three to five spare cores before a long expedition. That gives you room for combat, travel, and one badly planned detour.
Power User, available through the Intelligence attribute, improves fusion core efficiency at higher ranks. Nuclear Physicist also affects core use and provides a more technical route into sustained operation. You do not need either perk immediately, but a character who plans to live in the suit should build toward one of them instead of complaining about every core that reaches zero.
Repair the pieces that keep you alive
Damage is tracked by individual armor components. If both legs are broken, you lose protection and movement benefits even if the torso still looks impressive. Repair the torso first, then the legs, then the arms. The helmet matters, but it is rarely the first repair priority unless it has a useful mod or you are relying heavily on its protection.
Repairing requires a power armor station and materials. Steel is common; aluminum, circuitry, nuclear material, and adhesive are more annoying. Junk such as aluminum cans, desk fans, microscopes, and military circuit boards becomes valuable once you start maintaining multiple suits. Tag hard-to-find materials for search so the game highlights useful scrap while you loot.
Do not repair every damaged piece after every small fight. If you are returning to Sanctuary with one arm at 20 percent condition, that is a manageable repair. Spending rare materials to restore every part after shooting three raiders is how the workbench eats your entire supply chain.
Choose upgrades by role, not appearance
The best Fallout 4 power armor setup depends on what you are doing. A settlement builder who carries wood, steel, and concrete wants calibrated legs for increased carrying capacity. A close-range fighter benefits from strong torso protection and explosive resistance. A stealth-oriented character may find the whole suit too noisy and too heavy for routine scouting, despite its obvious defensive value.
Targeting HUD helmets, optimized bracers, and emergency protocols all serve different builds. Jetpacks are impressive, but they require Science and Armorer investment plus valuable materials. They also create a new way to launch yourself off a roof and discover that the landing system is not a safety net. Save the jetpack for a character with enough fusion cores and a clear reason to use vertical mobility.
Paint jobs are not all cosmetic. Some paint schemes offer attribute bonuses or faction-related effects, while others mainly change the color. Check the workbench description before spending rare materials. Black paint is not automatically better because it looks like something a raider would steal.
The best places to use the suit
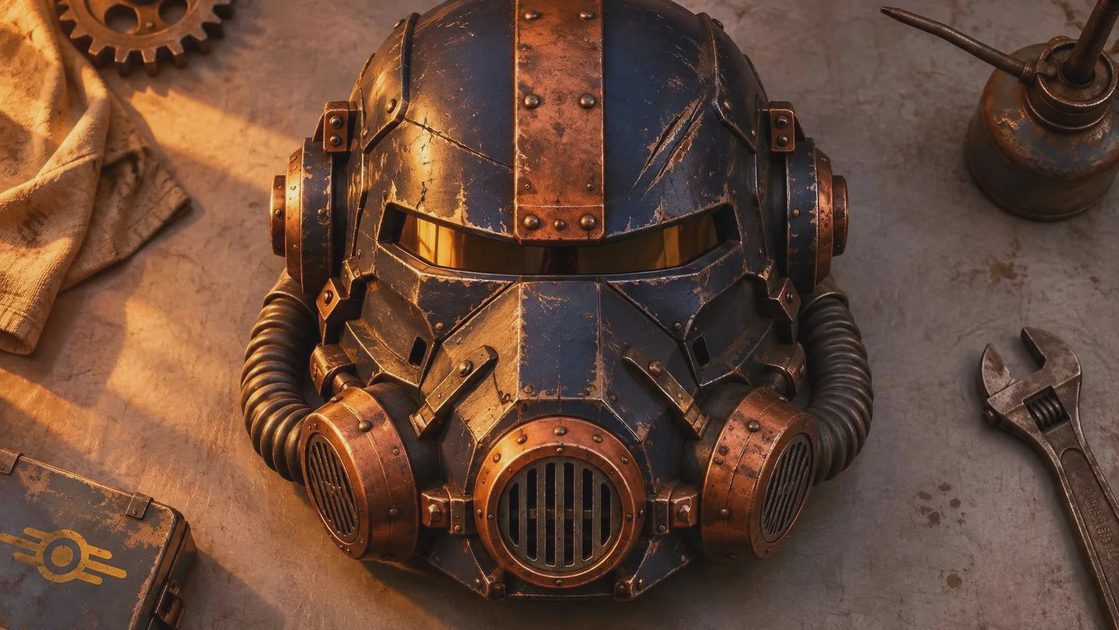
Use power armor when the encounter justifies its cost. Super mutant camps, deathclaw fights, glowing enemies, heavily defended interiors, and long salvage runs are good examples. The armor lets you absorb punishment while carrying a serious weapon, and the frame reduces the risk of being crippled by a bad ambush.
For ordinary travel, a standard outfit is often more efficient. You move quietly, use no fusion core, and can benefit from clothing that supports Charisma, Intelligence, or Agility checks. This matters during settlement management and vendor trips, where a full suit provides little beyond extra weight and dramatic footsteps.
Keep at least one stored frame near a frequently used settlement. A second frame at a distant base is useful if you regularly operate across the map. Label suits by purpose through your own storage system: combat, hauling, exploration, or spare parts. The game does not provide a perfect fleet-management screen, so a little organization prevents ten minutes of checking identical helmets.
A simple progression plan
During the opening hours, use the Concord suit for major fights and learn how quickly your cores disappear. Before exploring the far north or southwest, stock several cores and establish a repair station. Around the early teens, start collecting better components and consider Armorer or Science perks if the suit is central to your build.
By the midgame, decide whether the suit is your main equipment or a stored specialist kit. A main suit deserves upgraded legs, a strong torso, and reliable core support. A specialist suit can remain mostly stock but should be repaired before a difficult mission. If you have no cores, no materials, and no reason to fight a brutal encounter, leaving the armor at home is not cowardice. It is inventory management.
The strongest Fallout 4 power armor strategy is simple: maintain one dependable suit, keep a reserve of cores, and spend upgrade materials where they change your survival odds. Do that and the armor remains useful deep into the game instead of becoming an expensive garage ornament.
Common mistakes that waste time
The first mistake is wearing the suit everywhere. You drain cores during harmless errands, lose access to useful clothing bonuses, and make stealth approaches harder. The second is collecting every frame without enough parts to repair them. A damaged T-45 frame in a locked room is not a prize if you cannot maintain it.
The third mistake is upgrading the armor before upgrading your support economy. Adhesive, aluminum, and screws disappear quickly when you modify several pieces. Build a steady junk route through offices, factories, and workshops before committing to expensive modifications.
Finally, do not confuse a full armor frame with invulnerability. Mines, explosives, high-level enemies, and environmental hazards still punish bad positioning. Use cover, watch your health, and exit before the core meter becomes a warning rather than a number. Good Fallout 4 power armor play is controlled aggression: choose the fight, arrive prepared, and leave before the suit becomes dead weight.