

A potion chart minecraft players can actually use should answer one question quickly: what do I brew, and when? Minecraft brewing looks complicated because the game hides the useful combinations behind awkward ingredient chains. The good news is that the system is mostly predictable. Once you understand the base potion, effect ingredient, and modifier ingredient, you can prepare a working supply without filling three chests with suspicious stew and random bottles.
Skip the nonsense — here’s the route. Build a brewing stand, secure Nether wart, keep blaze powder in reserve, and brew for the problem in front of you. Fire resistance belongs in the Nether. Water breathing belongs underwater. Strength belongs in a fight where you would rather not spend ten minutes repairing armor afterward.
The three-part brewing system
Every useful potion starts with an awkward potion. Fill one, two, or three glass bottles with water, place them in a brewing stand, and add Nether wart. That creates awkward potions, which are the base for most effects. A few special recipes skip the awkward stage, but they are exceptions rather than a reason to abandon the basic route.
The effect ingredient determines what the potion does. Sugar creates Swiftness, magma cream creates Fire Resistance, and a glistering melon slice creates Healing. After that, modifiers change the result. Redstone dust extends duration, glowstone dust increases potency, and gunpowder converts a regular potion into a splash potion. Dragon’s breath converts a splash potion into a lingering potion, which is useful for area effects and mostly unnecessary for ordinary mining.
The potion chart minecraft players need is therefore less about memorizing dozens of recipes and more about reading the chain in the right order. Base first, effect second, modifier last. If you add redstone before the effect ingredient, you simply waste brewing time and materials. Minecraft is generous about many things. Ingredient order is not one of them.
Potion chart minecraft: core effects and ingredients
For Swiftness, brew sugar into an awkward potion. The normal version lasts three minutes, while redstone extends it to eight minutes. Glowstone produces Swiftness II, which is stronger but lasts only 90 seconds. Use the long version for travel and the stronger version for short combat or escapes.
For Strength, use blaze powder with an awkward potion. Redstone creates an eight-minute Strength potion, while glowstone creates Strength II for a shorter, harder hit. Strength is one of the best returns on brewing time because it improves melee damage without requiring a new weapon or rare enchantment.
For Fire Resistance, add magma cream. Redstone extends the potion to eight minutes, and there is no normal Strength II-style upgrade. This is the potion that prevents a lava accident from becoming a deleted-world story. Carry at least one before entering a Nether fortress, bastion, or deep lava cave.
For Healing, use a glistering melon slice. Glowstone turns it into Instant Health II, making it better for emergency recovery. Redstone does not extend an instant effect. For Regeneration, use a ghast tear; redstone extends the duration, while glowstone improves the effect but shortens the window. Ghast tears are annoying to collect, so save regeneration for dangerous fights rather than casual skeleton cleanup.

Movement, breathing, and exploration recipes
Water Breathing uses a pufferfish and gives three minutes by default or eight minutes with redstone. It is the correct answer for ocean monuments, underwater ruins, and long excavation sessions below flooded caves. Do not confuse it with night vision. Water breathing keeps you alive; night vision lets you see where you are going.
Night Vision uses a golden carrot. Redstone extends it from three to eight minutes. If you are exploring a large cave system, this is often more convenient than placing torches every few blocks, though torches remain the safer choice for marking your route home. A golden carrot costs gold, but the visibility improvement is worth it when mapping ancient cities or searching underwater structures.
Leaping uses a rabbit’s foot and improves jump height. Swiftness is usually more useful for ordinary travel, but Leaping helps with rough terrain and certain base designs. Slow Falling uses a phantom membrane and is excellent for End exploration, especially when bridges and floating islands are involved. Redstone gives it a much longer duration. Bring it before fighting the Ender Dragon if you are still learning how to move around the island.
The potion chart minecraft explorers should keep near the brewing stand must include these travel effects, not just combat recipes. A bottle of Slow Falling can save a run that armor, food, and confidence cannot. It is not glamorous. Neither is walking back to your gear after falling into the void.
Negative effects and how to reverse them
Some potions create harmful effects, but they also teach an important brewing rule. Spider eyes can corrupt certain positive potions. A fermented spider eye turns a Potion of Night Vision into a Potion of Invisibility, while corrupting a Potion of Healing creates a Potion of Harming. The result is not always intuitive, so test the recipe with one bottle before committing a full batch.
Milk is not a potion, but it removes active effects, including helpful ones. Drink it carefully. It can clear poison, but it also removes Fire Resistance before a lava crossing. Honey bottles remove poison without removing every other effect, making them more useful when you need to keep a buff active.
Weakness is brewed with a fermented spider eye and can be turned into a splash potion with gunpowder. Splash Weakness is required for curing a zombie villager alongside a golden apple. That is one of the few brewing recipes with a direct long-term base-building payoff, because cured villagers can become a reliable source of enchanted books, tools, and other supplies.
Modifiers, storage, and efficient batches
Redstone extends most timed potions. Glowstone strengthens many effects. Gunpowder makes a potion throwable, and dragon’s breath makes that splash potion linger on the ground. You cannot usually combine redstone and glowstone on the same bottle, so choose duration or intensity before brewing. For a group fight, splash potions make sense. For solo exploration, drinkable bottles are less wasteful.
A practical potion chart minecraft setup starts with labeled storage. Keep Nether wart, sugar, blaze powder, redstone, glowstone, and gunpowder beside the brewing stand. Store finished potions in separate chests by purpose: travel, combat, Nether, and emergency healing. This prevents the classic mistake of carrying eight nearly identical bottles and discovering none of them resist fire.
Brewing stands process three bottles at once, so batch your work. Put three water bottles in first, add Nether wart, then add the effect ingredient to all three. Apply the same modifier to the whole batch. One blaze powder fuels multiple brewing operations, but the stand still needs blaze powder as fuel, so keep extra powder in the station rather than spending every piece on Strength potions.
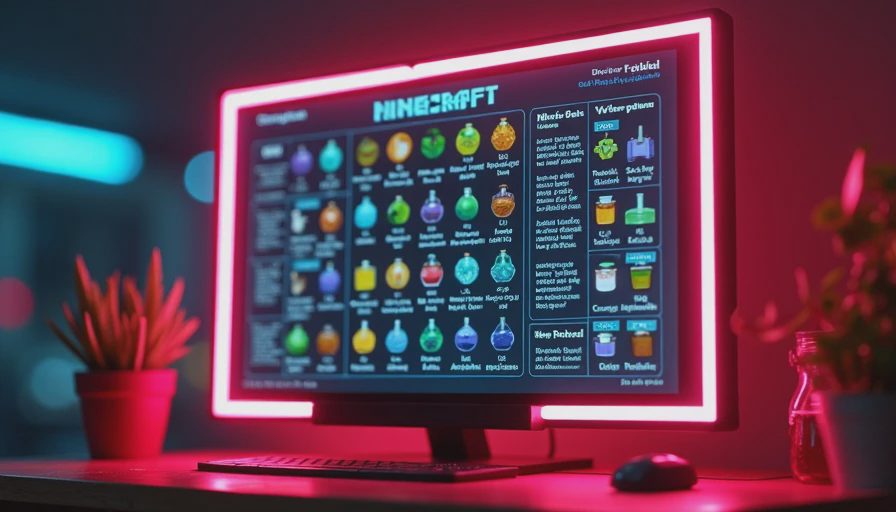
A simple preparation route before leaving base
Before a Nether trip, brew three or six Fire Resistance potions, then make at least one long-duration Swiftness batch for travel. Add Strength if you expect a fortress fight or want to deal with piglins quickly. Pack food, a shield, spare blocks, and a flint and steel. Potions support a plan; they do not replace one.
Before an ocean monument, prepare Water Breathing and Night Vision. Bring milk only if you understand that it removes effects, including the ones keeping you alive. For the End, Slow Falling is the priority, followed by Strength, Healing, and an emergency supply of food. Do not brew every recipe just because the ingredients are available. That is how useful materials become decorative bottles.
If you only do three things, do these: maintain a Nether wart farm, keep blaze powder stocked, and brew long-duration versions for travel. The potion chart minecraft players bookmark is useful, but a stocked workstation is what actually saves time. Prepare for the next danger, not every possible danger in the game.
Minecraft’s brewing system rewards small amounts of planning. Start with awkward potions, add the correct effect ingredient, choose duration or strength, and label the result. Follow that sequence and brewing stops being a wiki scavenger hunt. It becomes another clean progression loop: gather, process, prepare, and leave the base ready for the next problem.