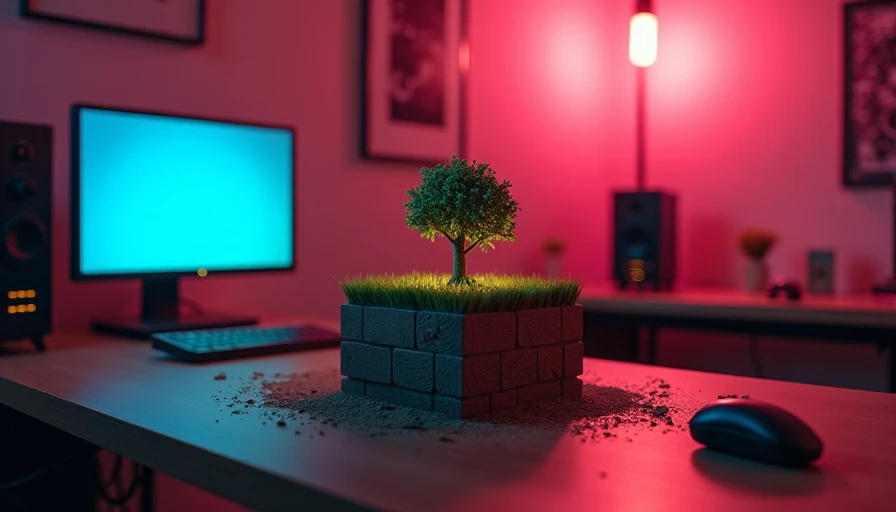
The minecraft grass block looks like basic scenery, but it quietly controls several useful early-game systems. It spreads across dirt, supports animals, improves the look of a base, and becomes valuable once you start landscaping seriously. The catch is simple: breaking it normally gives you dirt, not the block you saw. Skip the nonsense — here’s the route for finding, harvesting, moving, and using it without wasting half a Saturday on decorative dirt.
What the Minecraft Grass Block Actually Does
A minecraft grass block is a dirt block with a grass-covered top. In normal conditions, grass can spread from one grass block to a nearby dirt block when the receiving block has enough light. The exact speed is not reliable enough for a stopwatch, but the practical rule is clear: give grass a connected, reasonably bright path and let the game work.
Grass does not spread through solid blocks, and darkness slows the process by preventing suitable growth conditions. A roof over a dirt floor, a tunnel under your base, or a tightly packed underground room will not magically become a meadow. If you want a dirt patch to turn green, expose it to light and place it near an existing grass source.
The block also matters because sheep and other passive animals interact with grassy terrain. Sheep eat the grass layer from a block, leaving plain dirt behind, then can regrow their wool after eating again. That makes a small grass pen more useful than a dirt pen if you are raising sheep near your starter base.
There is one visual detail beginners often miss. Grass color changes by biome. A block moved from one area can look different after placement because the game colors grass according to its current surroundings, not because the item has a permanent shade. This is useful for builds, especially when you want a natural transition instead of one bright green patch surrounded by dry-looking terrain.
How to Get a Minecraft Grass Block
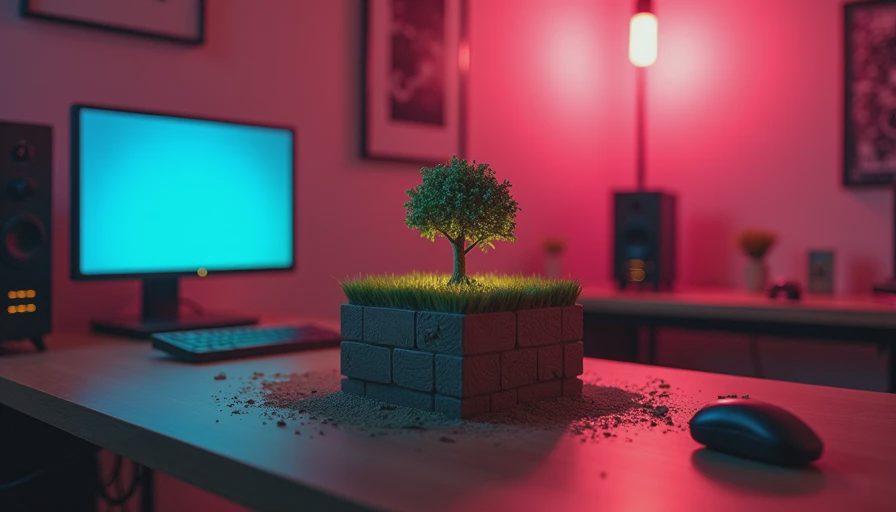
The dependable method is using a tool enchanted with Silk Touch. A pickaxe is the obvious choice, but Silk Touch works on suitable tools such as shovels and other mining tools as well. Break the block with Silk Touch, collect it, and place it wherever you need a starter patch. Without Silk Touch, breaking a minecraft grass block produces dirt, even when you use a shovel.
Silk Touch can come from an enchanting table, an enchanted book, or a trade with a librarian villager. Early survival players should not rush an expensive enchantment setup solely for landscaping. A more efficient route is to establish basic iron, food, and shelter first, then pursue Silk Touch when you are ready to gather glass, ice, bookshelves, or other blocks that benefit from the enchantment.
You can also move grass by spreading it. This costs no enchantment and works well when the destination is close to an existing patch. Dig a strip or room of dirt beside grass, make sure the area receives sufficient light, and wait. For a distant outpost, however, carrying one harvested block is much faster than building a long green bridge and hoping the update system cooperates.
The Fastest Early-Game Grass Route
If you are still in the first few Minecraft days, do not make Silk Touch your first project. The practical route is to locate a plains, forest, or similar grassy area, mark the coordinates, and return later. Bring a bed, food, torches, and a few stacks of dirt when you eventually collect the block. That prevents the classic mistake of carrying one valuable block across a dangerous night with no way home.
Once you have Silk Touch, harvest several blocks rather than only one. Two or four blocks give you redundancy if a creeper damages your landscaping or a sheep eats part of a pen. Place the first block where it has room to spread, then connect it to prepared dirt. You do not need to cover every surface immediately. A narrow starter strip can turn a bare yard green while preserving dirt for farms and paths.
For a compact base, place grass beside the animal area and keep the pen open to daylight. For an underground base, use the blocks as a surface layer near skylights, stairwells, or glass ceilings. Do not bury the source behind walls and then wonder why nothing changes. Minecraft is many things, but it is not a mind reader.
Grass Block Versus Dirt for Building
Dirt is the better temporary building material because it is common, fast to mine, and easy to replace. Grass is better for finished outdoor spaces, animal pens, village paths, gardens, and natural-looking terrain. Using grass as filler inside a wall is usually wasteful unless you already have a Silk Touch supply.
A minecraft grass block also gives a build more visual depth when combined with coarse dirt, podzol, rooted dirt, stone, cobblestone, and path blocks. A perfectly flat lawn can look artificial, so mix elevations and add short slopes. Use slabs or stairs to control the edge where grass meets a house. A two-block-wide green strip beside a stone foundation often looks better than a giant lawn with no shape.
Grass blocks are not the same as grass plants. You can place tall grass, flowers, and crops on suitable ground, but harvesting a grass block requires the block itself. Shears can collect some plants, while Silk Touch is the tool that preserves the underlying block. Keep those jobs separate when planning your inventory.
Common Problems and Quick Fixes
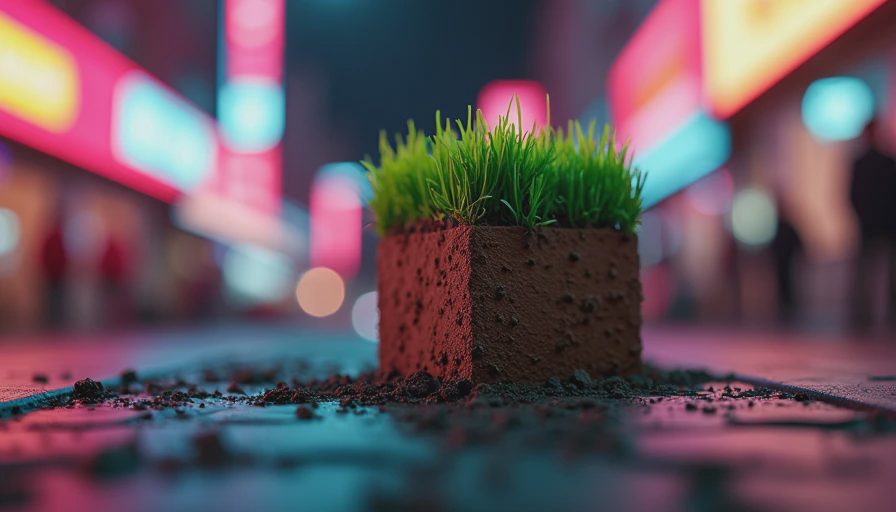
If dirt is not turning into grass, check light first. A ceiling, leaves, trapdoors, or a tight tunnel may be blocking the conditions needed for spread. Next, check distance. Grass must have a source close enough to reach the dirt; a single isolated block on the other side of your base will not help.
If grass disappears, look for sheep. In a pen, animals can eat the grass layer and leave dirt behind. Add more grass blocks, improve the pen layout, or move the animals onto a larger outdoor area. If the block turns into dirt immediately after placement, you probably harvested it without Silk Touch or placed it where the game could not preserve the visible grass layer.
Do not confuse a grass block with moss. Moss can spread across certain nearby surfaces when used correctly, but it is a different block with different behavior and a different visual result. If your plan depends on a particular shade or texture, test a small sample before rebuilding an entire hillside.
Best Uses for a Minecraft Grass Block
The best early use is a reliable grass source beside your base. From there, you can create animal pens, lawns, gardens, hillside terraces, and paths that blend into the surrounding terrain. A few blocks also help repair ugly mining scars around a starter house.
For larger projects, build the terrain in layers. Start with dirt to establish the shape, add grass where the surface should look finished, then place plants and lighting. Save valuable grass blocks for visible areas and use ordinary dirt underneath. This approach keeps the project cheap while still producing a natural result.
If you only do three things, do these: secure Silk Touch before planning a massive lawn, keep a grass source exposed to light, and harvest extra blocks before traveling far. The minecraft grass block is simple once you understand the rule: preserve one reliable source, give it suitable dirt nearby, and let spreading handle the boring work. That is the whole system. No shrine, no rare biome ritual, and definitely no need to punch the same dirt block twelve times hoping it changes its mind.